
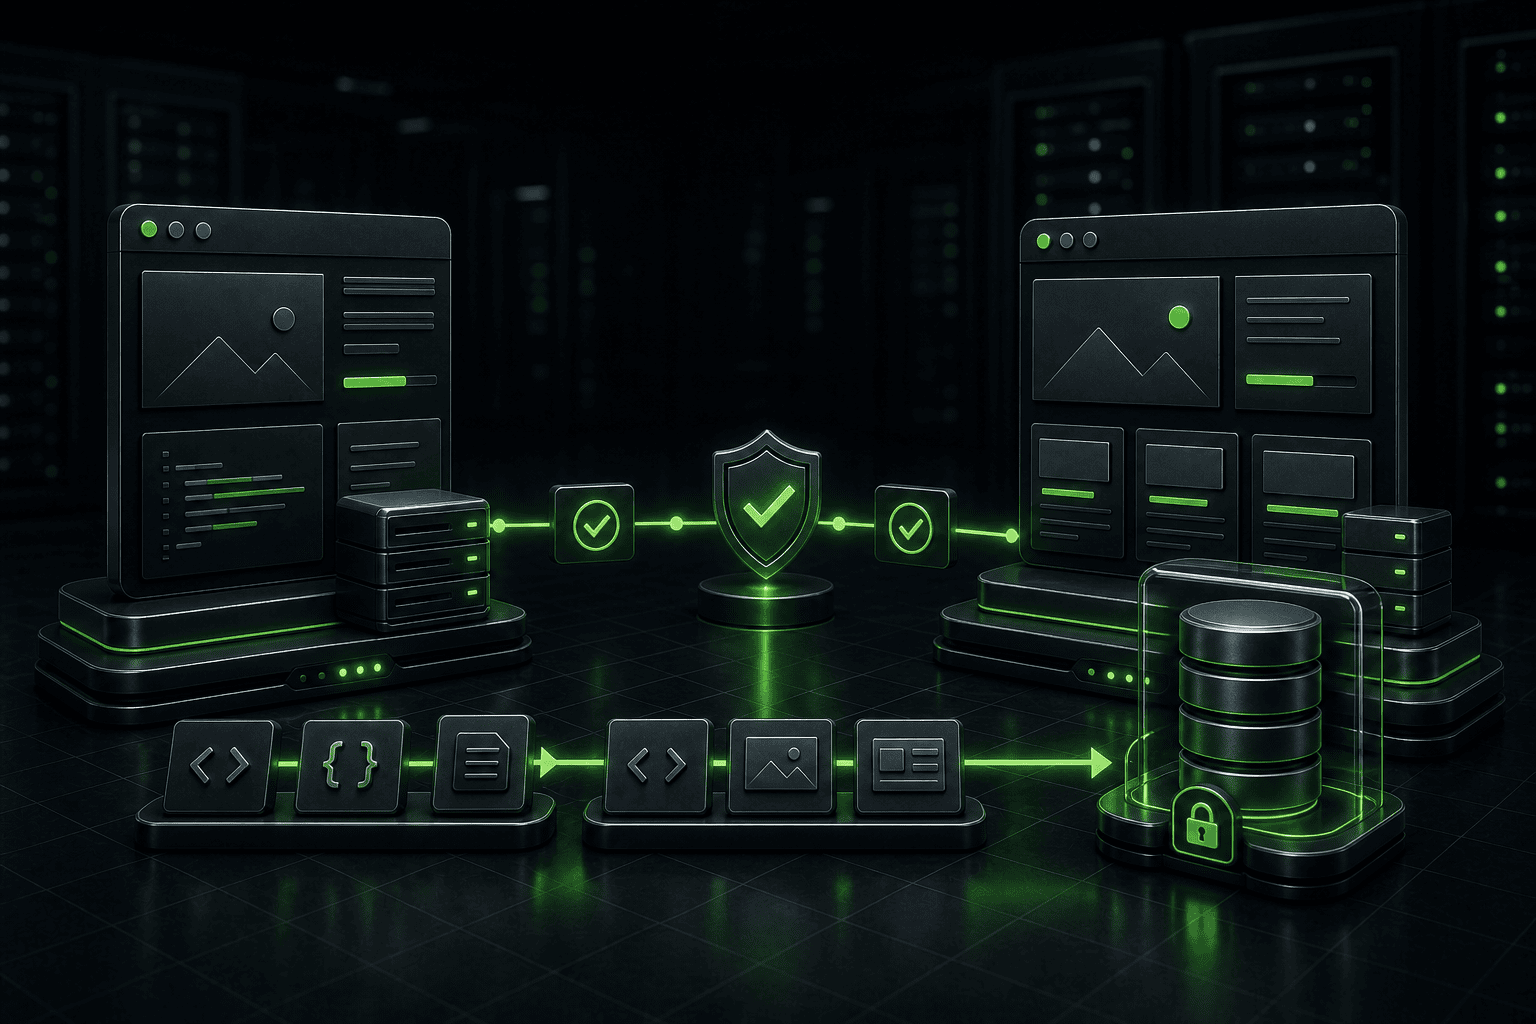
A WordPress staging site workflow is supposed to reduce risk. Yet I still see teams treat staging as a second website where they click around for five minutes, press a full-site sync button, and hope the live database survives. That approach becomes dangerous as soon as a site accepts orders, form entries, bookings, memberships, comments, or any other data that changes while development continues.
A reliable WordPress staging site workflow separates testing from deployment. It gives you a realistic place to prove a change, but it also defines exactly what moves to production, what stays untouched, and how the live site gets checked after release. The goal is not simply to have a staging URL. The goal is to make every release controlled, reversible, and boring.
This guide covers the process we use when a change sits between routine WordPress maintenance and hands-on WordPress development. It works for plugin updates, template edits, tracking changes, custom code, WooCommerce work, and larger releases where a casual push-to-live is not good enough.
What a WordPress staging process actually needs to protect
Staging protects more than the visible design. A change can leave the homepage looking perfect while breaking a payment callback, scheduled task, form notification, cache rule, or mobile menu. Good testing follows the business path, not just the page layout.
Before touching staging, write down the change and the risk it creates. A plugin update may affect checkout. Meanwhile, a new analytics script may increase interaction delay. Template edits can change structured data or responsive spacing. Custom code may alter the database. Each risk needs a specific test.
| Change | What staging should prove | What production still needs |
|---|---|---|
| Plugin or theme update | Compatibility, layout, forms, key user paths | Cache purge, live smoke test, error monitoring |
| Custom PHP or JavaScript | Expected behavior, error-free execution, rollback path | Correct files, production configuration, browser checks |
| WooCommerce change | Cart, checkout, payment sandbox, email and account flow | Live gateway callback, real cache rules, order protection |
| Design or template change | Desktop and mobile layout, accessibility basics, schema | CDN output, live tracking, final canonical and metadata |
| Performance change | Visual stability, functional safety, before-and-after test | Real cache layers, field conditions, production headers |
This risk-first view stops staging from becoming a vague approval screen. It also tells you whether the job belongs in a normal maintenance window or needs a developer, a code review, and a more deliberate release plan.
Build a useful WordPress staging environment
A stale staging site creates false confidence. If it runs a different PHP version, misses a payment add-on, uses an old theme, or has months-old content, a successful test says little about production. Refresh it from live before material work, then document anything that must remain different.
Match the important parts of production
Start with the same WordPress core version, active theme, plugins, PHP version, and major server services. Match object cache, page cache, CDN behavior, and scheduled jobs where the hosting setup allows it. You do not need to reproduce every traffic spike, but the software stack and critical integrations should be recognizable.
WordPress itself recognizes local, development, staging, and production environment types. Developers can use the official environment type documentation to keep debugging or environment-specific behavior out of production. That distinction helps, but it does not replace careful configuration review.
Keep the test copy private
If a staging URL is already appearing in Google, prevention is no longer the whole job. First verify the exact test hostname and whether an unauthenticated visitor can still read it. Protect private test content at the access layer, then handle the existing search result and separately check that production remains indexable. Our staging-site-in-Google guide explains that decision order. Do not copy a staging robots or noindex setting into the live site during a full database push.
Block public indexing, require authentication, and prevent transactional messages from reaching customers. Replace live API keys where possible. Put payment gateways into test mode. Redirect outbound email to a controlled inbox. Disable marketing automations that would react to copied customer data.
Privacy matters too. A production clone may contain customer records, orders, form entries, or user accounts. Limit access, remove data that testers do not need, and avoid sharing a staging login more widely than the live admin.
Know when the copy became stale
Record when staging was refreshed. A brochure site may remain useful for several days. A busy store can drift within minutes because production keeps receiving orders, stock changes, account updates, and new content. The faster live data changes, the less acceptable a full database push becomes.
The WordPress staging site workflow we use
The safest process has clear gates. Every gate answers one question before the next action starts.
1. Define the release, not just the task
List the files, settings, templates, database changes, and third-party services involved. Link the work to a short acceptance checklist. For a larger project, a useful development brief prevents a release from expanding halfway through testing.
Keep unrelated changes out. When three plugins, a checkout template, and a tracking script move together, a failed test becomes much harder to diagnose. Smaller releases also produce cleaner rollback decisions.
2. Capture the live starting point
Take a verified backup before changing production. Record active versions, key settings, current cache state, and a short set of live screenshots or test results. Confirm that the restore method is available to the person doing the release. A backup that nobody can restore quickly is only partial protection.
For business sites, our monthly maintenance runbook provides a useful baseline. It makes recent performance drift, update history, and known issues easier to separate from the new release.
3. Refresh staging without triggering live actions
Clone from production, then immediately check privacy, email capture, payment mode, scheduled actions, and search visibility. Confirm the staging URL does not redirect customers into a copied checkout or send duplicate notifications.
If the host offers one-click staging, read what its push-to-live action includes. Some tools move files, some replace selected database tables, and others overwrite almost everything. The button label is not a deployment plan.
4. Apply one coherent change set
Make the planned change and keep a record of modified files, plugin versions, templates, settings, and migrations. Use version control for custom code whenever practical. Avoid editing the same theme or plugin directly on both staging and production because the two copies will diverge.
5. Test the real user journey
Test as a visitor, customer, editor, and administrator where those roles matter. Use desktop and mobile widths. Submit a form and confirm the stored entry plus notification. Add a product to the cart, apply tax and shipping logic, complete a sandbox payment, and check the order email. Log in, reset a password, search the site, and use any filters or account tools touched by the release.
For stores, use a dedicated checkout testing checklist. The revenue path deserves more than a visual homepage check.
6. Decide what should move
This is the point where a useful WordPress staging site workflow differs from a full-site clone. Code and static files normally move from staging to production. Fresh production data normally stays on production. Configuration and database migrations need a deliberate plan.
A small plugin update may be safer to repeat on live after staging proves compatibility. By contrast, custom code should move as the tested commit or package. When template settings live in the database, identify the exact records and verify whether the tool can migrate them selectively. Never assume the whole staging database can replace a live store database without data loss.
7. Release inside a controlled window
Choose a time when the right people can respond. Put transactional sites into maintenance mode only when the release requires it, and keep that window short. Pause edits or orders only if the deployment plan cannot safely preserve them.
Deploy the smallest tested unit. Run required database migrations once. Clear relevant caches in the correct order. Do not change performance, security, and application settings at the same time unless they were tested as one release.
8. Verify production as a separate environment
A staging pass does not prove the live release. Production has real domains, CDN rules, payment callbacks, email delivery, analytics, traffic, and server limits. Repeat the critical smoke tests on the live URL. Check the browser console, server error log, form storage, checkout, responsive layout, canonical URL, robots directives, analytics events, and cache headers.
Watch the site after release. Some failures appear only when a scheduled task runs, a cache warms, or a real webhook arrives. Keep the rollback decision simple: if a critical path fails and the fix is not immediate, restore the known-good version rather than debugging under pressure.
Why a full staging database push can lose live data
WordPress stores much more than page content in its database. Orders, form entries, users, comments, plugin settings, sessions, inventory, subscriptions, and scheduled actions may all change after staging was copied. Replacing live tables with older staging tables can erase or rewind those changes.
The risk is highest on WooCommerce, membership, booking, learning, and community sites. However, even a simple lead-generation site can lose enquiries if a form plugin stores entries in the database.
There are three safer patterns:
- Repeat a proven setting change on live. Use this for a small, well-documented change that does not justify database migration.
- Move code and files only. Deploy the tested plugin, theme, or custom code while production keeps its current content and transactions.
- Run a targeted migration. Use a reviewed script or selective tool when a feature genuinely needs schema or stored configuration changes.
If nobody can explain which tables will change and how recent production records stay safe, the release is not ready.
Test the WordPress release workflow by site type
Brochure and lead-generation sites
Check navigation, responsive templates, forms, consent controls, email delivery, analytics, SEO metadata, and any CRM connection. Submit at least one real production form after release, then verify both the stored entry and the recipient inbox.
WooCommerce stores
Test product variations, stock, coupons, tax, shipping, cart fragments, checkout validation, payment callbacks, account pages, order emails, and refunds where the change reaches them. Protect live orders and stock from staging database replacement.
Membership, booking, and learning sites
Test registration, login, access rules, renewals, calendar availability, transactional messages, and role changes. These sites often combine several plugins that write related data, so partial database changes require extra care.
High-traffic publishing sites
Check editorial permissions, scheduled posts, search, archives, ads, analytics, cache invalidation, and feeds. Avoid replacing live content tables after editors have continued publishing.
What staging cannot reproduce perfectly
Staging lowers risk, but it is not a promise that nothing can fail. A smaller server may hide or exaggerate performance problems. Payment providers and CRMs may behave differently in test mode. Production-only CDN rules, security controls, traffic, cron timing, and environment variables can change the result.
This is why the process needs both staging acceptance and production verification. It also explains why a speed change should be checked against live cache behavior rather than judged from one staging score. If performance tends to degrade between releases, our guide to gradual WordPress slowdown shows what to monitor over time.
When a plugin is enough and when development help is safer
A hosting control panel or staging plugin can handle straightforward cloning and a small plugin update. It works best when the site changes slowly, the release affects no live transactions, and the operator understands exactly what the push action moves.
Bring in a developer when the release includes custom code, database migrations, a busy store, several integrations, an unfamiliar legacy theme, or a rollback that must happen within minutes. The same applies when staging and production have already drifted or when nobody owns the final live verification.
At Webless, we treat the staging copy as evidence, not permission. The release still needs an owner, a deployment scope, a live test, and a rollback path. That discipline is part of both ongoing maintenance and professional development work.
Questions clients usually ask before a release
Should every WordPress update go through staging?
Risk should decide. A small update on a simple brochure site may use a verified backup plus direct live testing. A major plugin update, custom code change, WooCommerce release, or unfamiliar compatibility change deserves staging first.
Can I push the entire staging site to production?
Only when production has been frozen and the deployment plan accounts for every database change. On an active transactional site, a full push can overwrite new orders, users, entries, stock, or content. Selective deployment is usually safer.
How often should staging be refreshed?
Refresh before material work and whenever the software or data has drifted enough to weaken the test. A store may need a fresh copy for each release. A simple site may need fewer refreshes.
Does staging replace backups?
No. Staging is a test environment. A backup provides a recovery point. A proper WordPress staging site workflow needs both, plus a person who knows how to restore the live site.
Make your WordPress staging site workflow repeatable
The best staging process is not the one with the most tools. It is the one the team can repeat without guessing: define the change, refresh safely, test the business path, move only what should move, verify production, and keep rollback ready.
That sequence protects live data while giving developers room to work properly. If your current WordPress staging site workflow ends with an unexplained full-site sync, pause before the next release. Webless can review the setup, map the risk, and build a deployment process that fits the site. Start with a practical WordPress review rather than waiting for the release itself to expose the weak point.